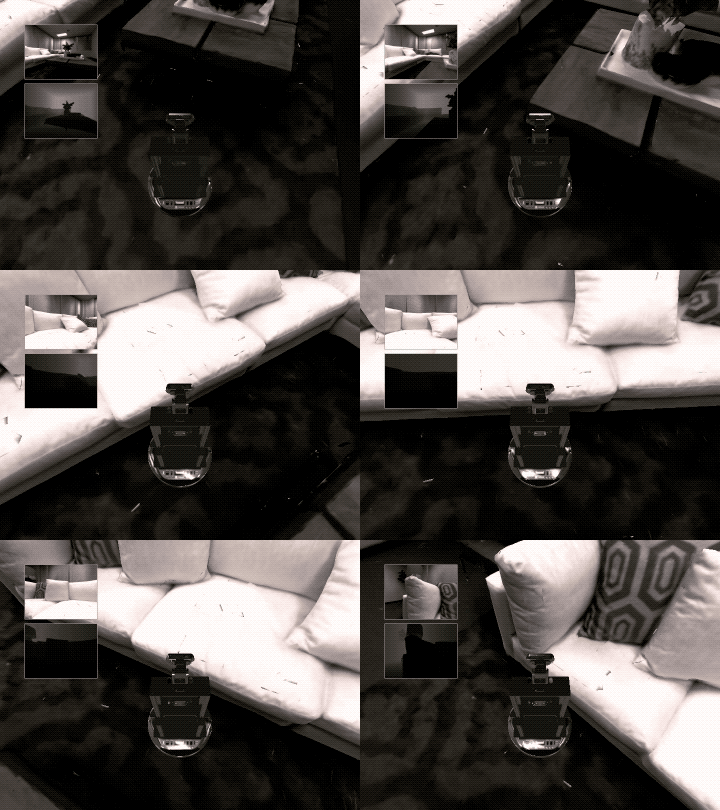
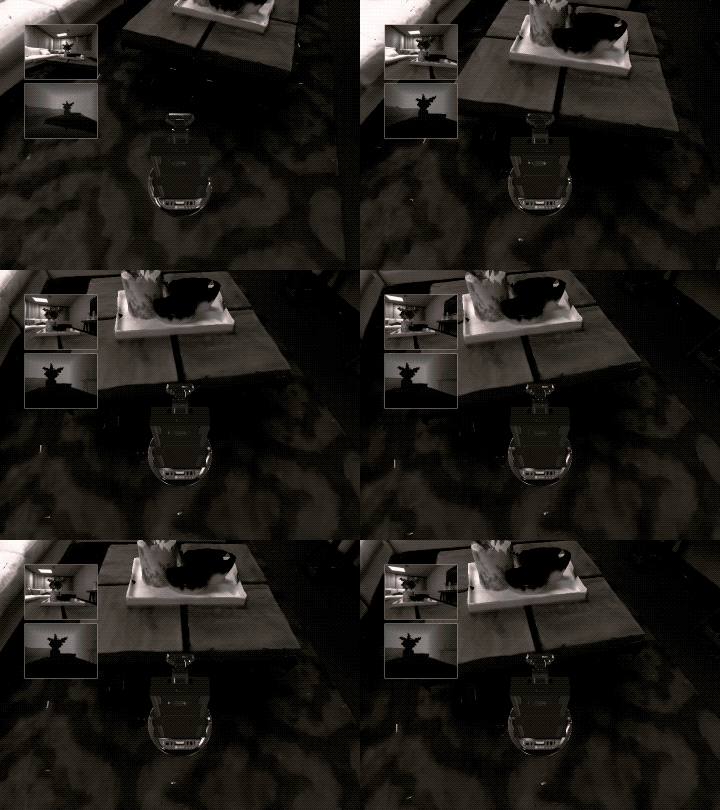
Interactive Rigid Objects
This tutorial demonstrates rigid object interactions in Habitat-sim -- instancing, dynamic simulation, and kinematic manipulation.
The example code below is available on Collab, or runnable via:
$ python path/to/habitat-sim/examples/tutorials/nb_python/rigid_object_tutorial.py
First, download the example objects and extract them into path/to/habitat-sim/data/objects/.
Import necessary modules, define some convenience functions, and initialize the Simulator and Agent.
import math
import os
import random
import sys

import git
import magnum as mn
import numpy as np

import habitat_sim
from habitat_sim.utils import viz_utils as vut

if "google.colab" in sys.modules:
    os.environ["IMAGEIO_FFMPEG_EXE"] = "/usr/bin/ffmpeg"

repo = git.Repo(".", search_parent_directories=True)
dir_path = repo.working_tree_dir
# %cd $dir_path
data_path = os.path.join(dir_path, "data")
output_path = os.path.join(dir_path, "examples/tutorials/rigid_object_tutorial_output/")


def remove_all_objects(sim):
    for id_ in sim.get_existing_object_ids():
        sim.remove_object(id_)


def place_agent(sim):
    # place our agent in the scene
    agent_state = habitat_sim.AgentState()
    agent_state.position = [-0.15, -0.7, 1.0]
    agent_state.rotation = np.quaternion(-0.83147, 0, 0.55557, 0)
    agent = sim.initialize_agent(0, agent_state)
    return agent.scene_node.transformation_matrix()


def make_configuration():
    # simulator configuration
    backend_cfg = habitat_sim.SimulatorConfiguration()
    backend_cfg.scene_id = os.path.join(
        data_path, "scene_datasets/habitat-test-scenes/apartment_1.glb"
    )
    assert os.path.exists(backend_cfg.scene_id)
    backend_cfg.enable_physics = True

    # sensor configurations
    # Note: all sensors must have the same resolution
    # setup 2 rgb sensors for 1st and 3rd person views
    camera_resolution = [544, 720]
    sensor_specs = []

    rgba_camera_1stperson_spec = habitat_sim.CameraSensorSpec()
    rgba_camera_1stperson_spec.uuid = "rgba_camera_1stperson"
    rgba_camera_1stperson_spec.sensor_type = habitat_sim.SensorType.COLOR
    rgba_camera_1stperson_spec.resolution = camera_resolution
    rgba_camera_1stperson_spec.postition = [0.0, 0.6, 0.0]
    rgba_camera_1stperson_spec.orientation = [0.0, 0.0, 0.0]
    rgba_camera_1stperson_spec.sensor_subtype = habitat_sim.SensorSubType.PINHOLE
    sensor_specs.append(rgba_camera_1stperson_spec)

    depth_camera_1stperson_spec = habitat_sim.CameraSensorSpec()
    depth_camera_1stperson_spec.uuid = "depth_camera_1stperson"
    depth_camera_1stperson_spec.sensor_type = habitat_sim.SensorType.DEPTH
    depth_camera_1stperson_spec.resolution = camera_resolution
    depth_camera_1stperson_spec.postition = [0.0, 0.6, 0.0]
    depth_camera_1stperson_spec.orientation = [0.0, 0.0, 0.0]
    depth_camera_1stperson_spec.sensor_subtype = habitat_sim.SensorSubType.PINHOLE
    sensor_specs.append(depth_camera_1stperson_spec)

    rgba_camera_3rdperson_spec = habitat_sim.CameraSensorSpec()
    rgba_camera_3rdperson_spec.uuid = "rgba_camera_3rdperson"
    rgba_camera_3rdperson_spec.sensor_type = habitat_sim.SensorType.COLOR
    rgba_camera_3rdperson_spec.resolution = camera_resolution
    rgba_camera_3rdperson_spec.postition = [0.0, 1.0, 0.3]
    rgba_camera_3rdperson_spec.orientation = [-45, 0.0, 0.0]
    rgba_camera_3rdperson_spec.sensor_subtype = habitat_sim.SensorSubType.PINHOLE
    sensor_specs.append(rgba_camera_3rdperson_spec)

    # agent configuration
    agent_cfg = habitat_sim.agent.AgentConfiguration()
    agent_cfg.sensor_specifications = sensor_specs

    return habitat_sim.Configuration(backend_cfg, [agent_cfg])


def simulate(sim, dt=1.0, get_frames=True):
    # simulate dt seconds at 60Hz to the nearest fixed timestep
    print("Simulating " + str(dt) + " world seconds.")
    observations = []
    start_time = sim.get_world_time()
    while sim.get_world_time() < start_time + dt:
        sim.step_physics(1.0 / 60.0)
        if get_frames:
            observations.append(sim.get_sensor_observations())

    return observations
    # create the simulators AND resets the simulator

    cfg = make_configuration()
    try:  # Got to make initialization idiot proof
        sim.close()
    except NameError:
        pass
    sim = habitat_sim.Simulator(cfg)
    agent_transform = place_agent(sim)

    # get the primitive assets attributes manager
    prim_templates_mgr = sim.get_asset_template_manager()

    # get the physics object attributes manager
    obj_templates_mgr = sim.get_object_template_manager()
Simulation Quickstart
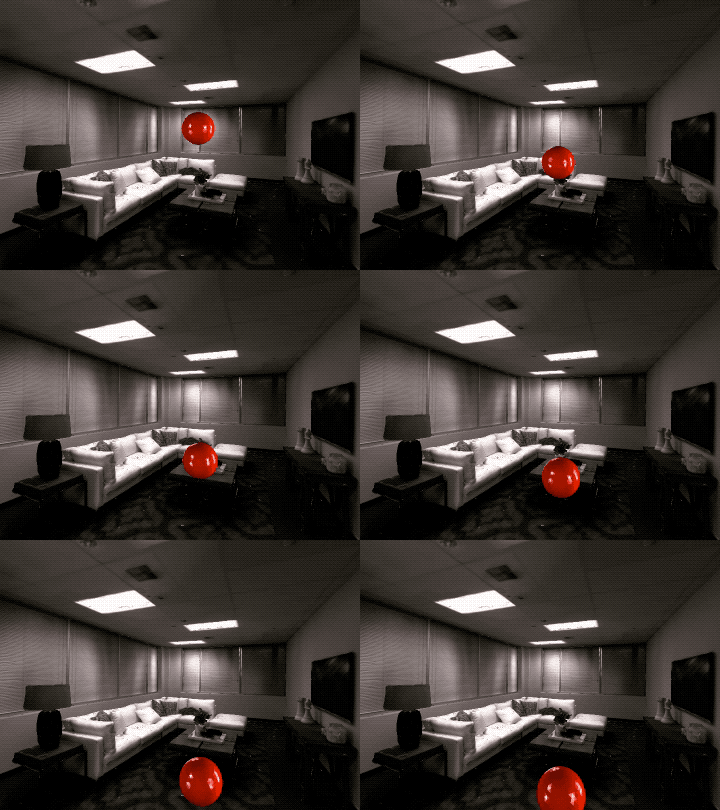
Basic rigid body simulation can be achieved by simply loading a template, instancing an object, and stepping the physical world. In this example, a sphere object template is loaded and the object is instanced in the scene above the table. When the simulation is stepped, it falls under the force of gravity and reacts to collisions with the scene.
    # load some object templates from configuration files
    sphere_template_id = obj_templates_mgr.load_configs(
        str(os.path.join(data_path, "test_assets/objects/sphere"))
    )[0]

    # add an object to the scene
    id_1 = sim.add_object(sphere_template_id)
    sim.set_translation(np.array([2.50, 0, 0.2]), id_1)

    # simulate
    observations = simulate(sim, dt=1.5, get_frames=make_video)

    if make_video:
        vut.make_video(
            observations,
            "rgba_camera_1stperson",
            "color",
            output_path + "sim_basics",
            open_vid=show_video,
        )
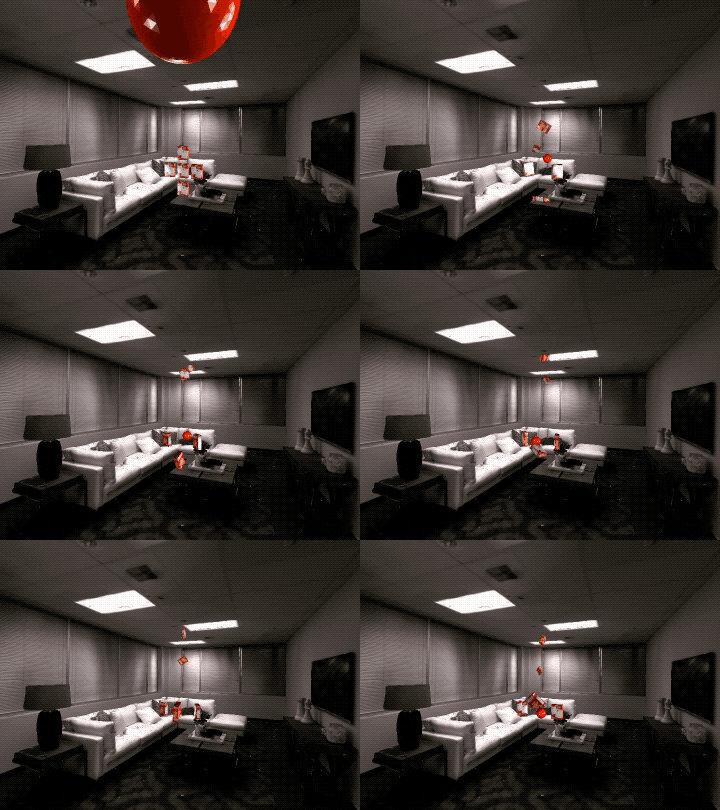
Forces and torques can be applied to the object with Simulator.apply_force() and Simulator.apply_torque(). Instantanious initial velocities can also be set with Simulator.set_linear_velocity() and Simulator.set_angular_velocity().
In the example below, a constant anti-gravity force is applied to the boxes’ centers of mass (COM) causing them to float in the air. A constant torque is also applied which gradually increases the angular velocity of the boxes. A sphere is then thrown at the boxes by applying an initial velocity.
Note that forces and torques are treated as constant within each call to Simulator.step_physics() and are cleared afterward.
    observations = []
    obj_templates_mgr.load_configs(str(os.path.join(data_path, "objects")))
    # search for an object template by key sub-string
    cheezit_template_handle = obj_templates_mgr.get_template_handles(
        "data/objects/cheezit"
    )[0]
    box_positions = [
        np.array([2.39, -0.37, 0]),
        np.array([2.39, -0.64, 0]),
        np.array([2.39, -0.91, 0]),
        np.array([2.39, -0.64, -0.22]),
        np.array([2.39, -0.64, 0.22]),
    ]
    box_orientation = mn.Quaternion.rotation(
        mn.Rad(math.pi / 2.0), np.array([-1.0, 0, 0])
    )
    # instance and place the boxes
    box_ids = []
    for b in range(5):
        box_ids.append(sim.add_object_by_handle(cheezit_template_handle))
        sim.set_translation(box_positions[b], box_ids[b])
        sim.set_rotation(box_orientation, box_ids[b])

    # get the object's initialization attributes (all boxes initialized with same mass)
    object_init_template = sim.get_object_initialization_template(box_ids[0])
    # anti-gravity force f=m(-g)
    anti_grav_force = -1.0 * sim.get_gravity() * object_init_template.mass

    # throw a sphere at the boxes from the agent position
    sphere_template = obj_templates_mgr.get_template_by_id(sphere_template_id)
    sphere_template.scale = np.array([0.5, 0.5, 0.5])
    obj_templates_mgr.register_template(sphere_template)

    sphere_id = sim.add_object(sphere_template_id)
    sim.set_translation(
        sim.agents[0].get_state().position + np.array([0, 1.0, 0]), sphere_id
    )
    # get the vector from the sphere to a box
    target_direction = sim.get_translation(box_ids[0]) - sim.get_translation(sphere_id)
    # apply an initial velocity for one step
    sim.set_linear_velocity(target_direction * 5, sphere_id)
    sim.set_angular_velocity(np.array([0, -1.0, 0]), sphere_id)

    start_time = sim.get_world_time()
    dt = 3.0
    while sim.get_world_time() < start_time + dt:
        # set forces/torques before stepping the world
        for box_id in box_ids:
            sim.apply_force(anti_grav_force, np.array([0, 0.0, 0]), box_id)
            sim.apply_torque(np.array([0, 0.01, 0]), box_id)
        sim.step_physics(1.0 / 60.0)
        observations.append(sim.get_sensor_observations())

    if make_video:
        vut.make_video(
            observations,
            "rgba_camera_1stperson",
            "color",
            output_path + "dynamic_control",
            open_vid=show_video,
        )
Kinematic Object Placement
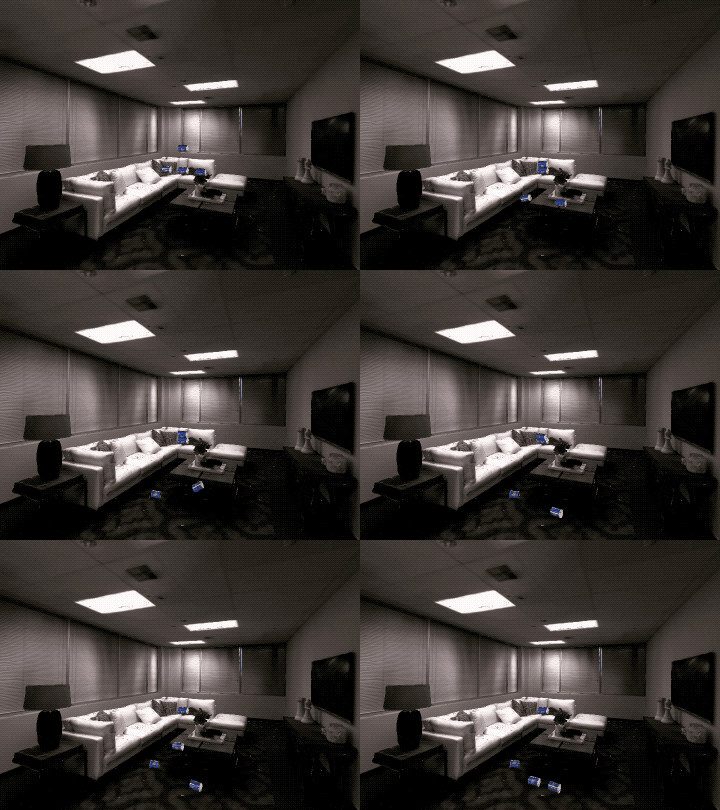
Often it is enough to set the desired state of an object directly. In these cases the computational overhead of running full dynamic simulation may not be necessary to achieve a desired result. Setting the object to habitat_sim.physics.MotionType.KINEMATIC with Simulator.set_object_motion_type() specifies that the object’s state will be directly controlled.
In the example below, a kinematic can is placed in the scene which will not react to physical events such as collision with dynamically simulated objects. However, it will still act as a collision object for other scene objects as in the following example.
    chefcan_template_handle = obj_templates_mgr.get_template_handles(
        "data/objects/chefcan"
    )[0]
    id_1 = sim.add_object_by_handle(chefcan_template_handle)
    sim.set_translation(np.array([2.4, -0.64, 0]), id_1)
    # set one object to kinematic
    sim.set_object_motion_type(habitat_sim.physics.MotionType.KINEMATIC, id_1)

    # drop some dynamic objects
    id_2 = sim.add_object_by_handle(chefcan_template_handle)
    sim.set_translation(np.array([2.4, -0.64, 0.28]), id_2)
    id_3 = sim.add_object_by_handle(chefcan_template_handle)
    sim.set_translation(np.array([2.4, -0.64, -0.28]), id_3)
    id_4 = sim.add_object_by_handle(chefcan_template_handle)
    sim.set_translation(np.array([2.4, -0.3, 0]), id_4)

    # simulate
    observations = simulate(sim, dt=1.5, get_frames=True)

    if make_video:
        vut.make_video(
            observations,
            "rgba_camera_1stperson",
            "color",
            output_path + "kinematic_interactions",
            open_vid=show_video,
        )
Kinematic Velocity Control
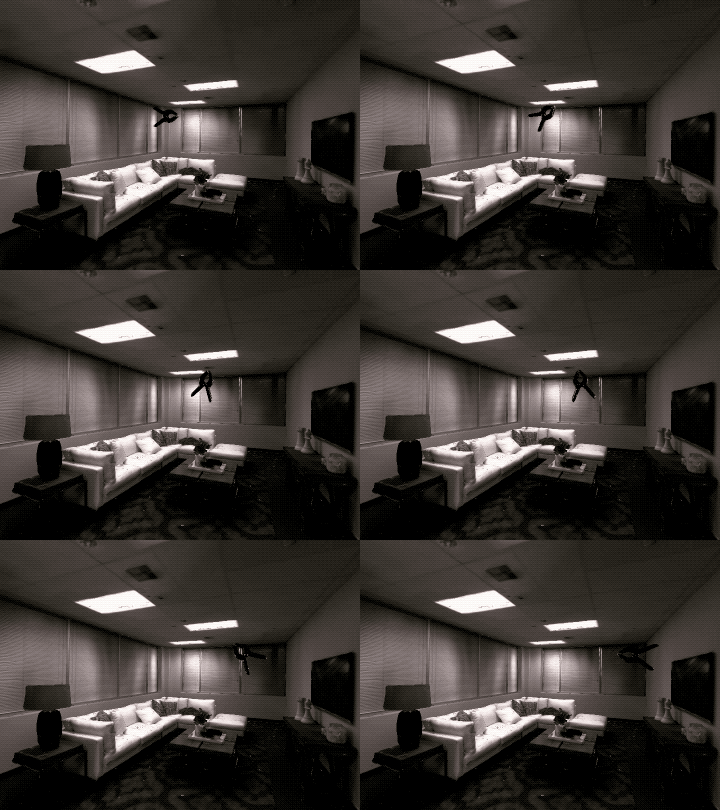
To move a kinematic object, the state can be set directly before each simulation step. This is useful for synchronizing the simulation state of objects to a known state such as a dataset trajectory, input device, or motion capture.
    observations = []

    clamp_template_handle = obj_templates_mgr.get_template_handles(
        "data/objects/largeclamp"
    )[0]
    id_1 = sim.add_object_by_handle(clamp_template_handle)
    sim.set_object_motion_type(habitat_sim.physics.MotionType.KINEMATIC, id_1)
    sim.set_translation(np.array([0.8, 0, 0.5]), id_1)

    start_time = sim.get_world_time()
    dt = 1.0
    while sim.get_world_time() < start_time + dt:
        # manually control the object's kinematic state
        sim.set_translation(sim.get_translation(id_1) + np.array([0, 0, 0.01]), id_1)
        sim.set_rotation(
            mn.Quaternion.rotation(mn.Rad(0.05), np.array([-1.0, 0, 0]))
            * sim.get_rotation(id_1),
            id_1,
        )
        sim.step_physics(1.0 / 60.0)
        observations.append(sim.get_sensor_observations())

    if make_video:
        vut.make_video(
            observations,
            "rgba_camera_1stperson",
            "color",
            output_path + "kinematic_update",
            open_vid=show_video,
        )
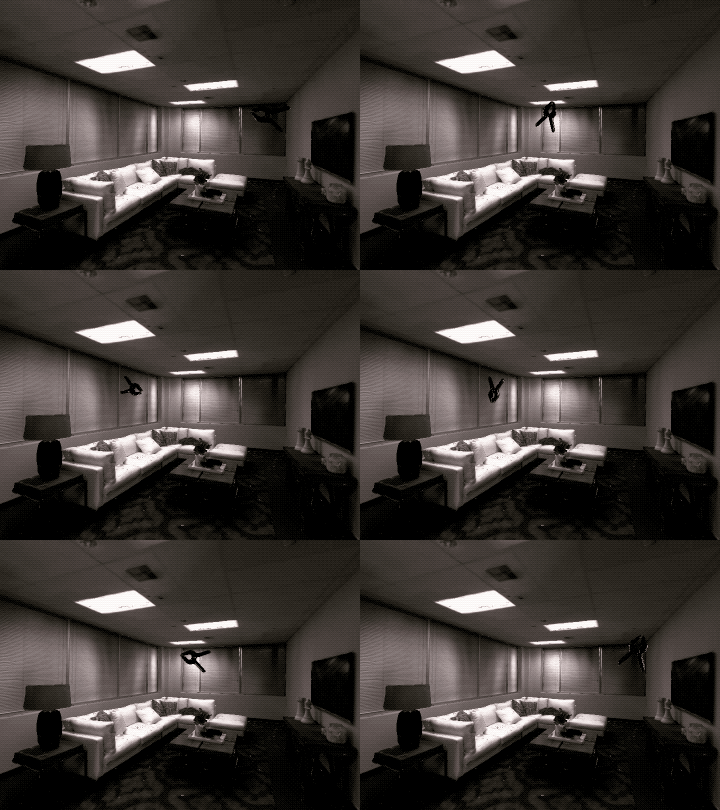
However, when applying model or algorithmic control it is more convenient to specify a constant linear and angular velocity for the object which will be simulated without manual integration. The object’s habitat_sim.physics.VelocityControl structure provides this functionality and can be acquired via Simulator.get_object_velocity_control(). Once paramters are set, control takes affect immediately on the next simulation step as shown in the following example.
    # get object VelocityControl structure and setup control
    vel_control = sim.get_object_velocity_control(id_1)
    vel_control.linear_velocity = np.array([0, 0, -1.0])
    vel_control.angular_velocity = np.array([4.0, 0, 0])
    vel_control.controlling_lin_vel = True
    vel_control.controlling_ang_vel = True

    observations = simulate(sim, dt=1.0, get_frames=True)

    # reverse linear direction
    vel_control.linear_velocity = np.array([0, 0, 1.0])

    observations += simulate(sim, dt=1.0, get_frames=True)

    if make_video:
        vut.make_video(
            observations,
            "rgba_camera_1stperson",
            "color",
            output_path + "velocity_control",
            open_vid=show_video,
        )
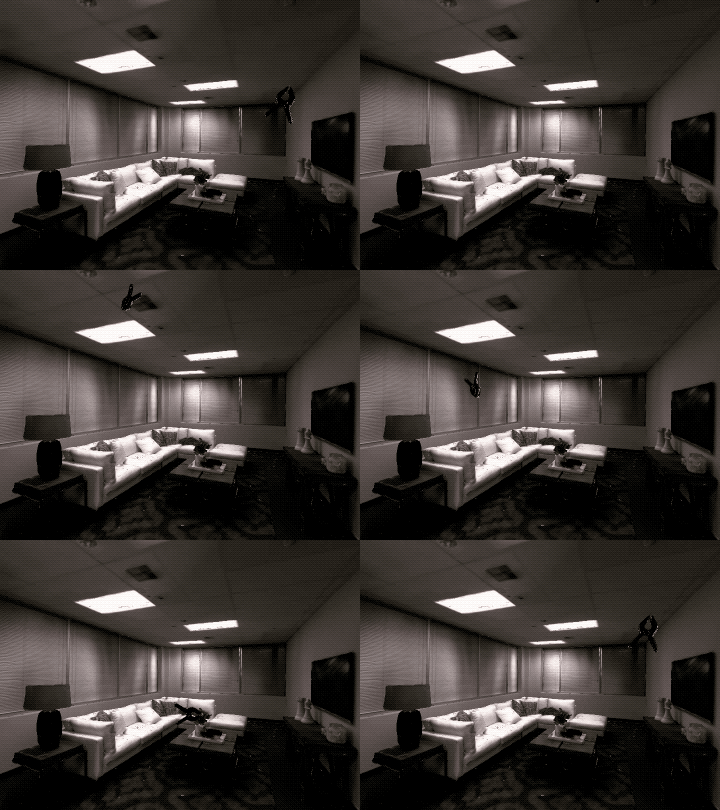
Velocities can also be specified in the local space of the object to easily apply velocity control for continuous agent actions.
    vel_control.linear_velocity = np.array([0, 0, 2.3])
    vel_control.angular_velocity = np.array([-4.3, 0.0, 0])
    vel_control.lin_vel_is_local = True
    vel_control.ang_vel_is_local = True

    observations = simulate(sim, dt=1.5, get_frames=True)

    # video rendering
    if make_video:
        vut.make_video(
            observations,
            "rgba_camera_1stperson",
            "color",
            output_path + "local_velocity_control",
            open_vid=show_video,
        )
Embodied Agents
For this tutorial section, you will need to download the merged locobot asset and extract it into path/to/habitat-sim/data/objects/
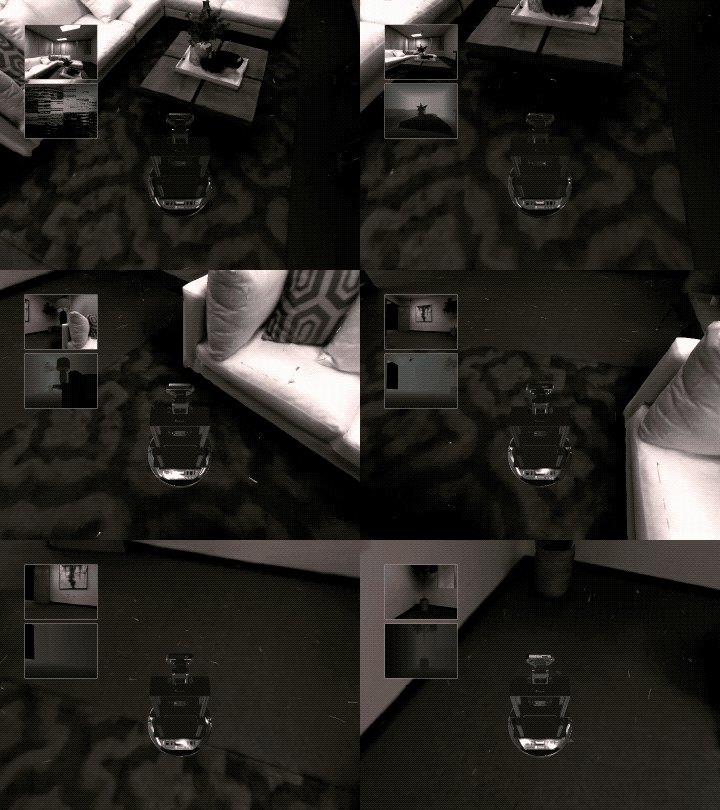
Previous stages of this tutorial have covered adding objects to the world and manipulating them by setting positions, velocity, forces, and torques. In all of these examples, the agent has been a passive onlooker observing the scene. However, the agent can also be attached to a simulated object for embodiement and control. This can be done by passing the Agent’s scene node to the Simulator.add_object() function.
In this example, the agent is embodied by a rigid robot asset and the habitat_sim.physics.VelocityControl structure is used to control the robot’s actions.
    # load the lobot_merged asset
    locobot_template_id = obj_templates_mgr.load_configs(
        str(os.path.join(data_path, "objects/locobot_merged"))
    )[0]

    # add robot object to the scene with the agent/camera SceneNode attached
    id_1 = sim.add_object(locobot_template_id, sim.agents[0].scene_node)
    sim.set_translation(np.array([1.75, -1.02, 0.4]), id_1)

    vel_control = sim.get_object_velocity_control(id_1)
    vel_control.linear_velocity = np.array([0, 0, -1.0])
    vel_control.angular_velocity = np.array([0.0, 2.0, 0])

    # simulate robot dropping into place
    observations = simulate(sim, dt=1.5, get_frames=make_video)

    vel_control.controlling_lin_vel = True
    vel_control.controlling_ang_vel = True
    vel_control.lin_vel_is_local = True
    vel_control.ang_vel_is_local = True

    # simulate forward and turn
    observations += simulate(sim, dt=1.0, get_frames=make_video)

    vel_control.controlling_lin_vel = False
    vel_control.angular_velocity = np.array([0.0, 1.0, 0])

    # simulate turn only
    observations += simulate(sim, dt=1.5, get_frames=make_video)

    vel_control.angular_velocity = np.array([0.0, 0.0, 0])
    vel_control.controlling_lin_vel = True
    vel_control.controlling_ang_vel = True

    # simulate forward only with damped angular velocity (reset angular velocity to 0 after each step)
    observations += simulate(sim, dt=1.0, get_frames=make_video)

    vel_control.angular_velocity = np.array([0.0, -1.25, 0])

    # simulate forward and turn
    observations += simulate(sim, dt=2.0, get_frames=make_video)

    vel_control.controlling_ang_vel = False
    vel_control.controlling_lin_vel = False

    # simulate settling
    observations += simulate(sim, dt=3.0, get_frames=make_video)

    # remove the agent's body while preserving the SceneNode
    sim.remove_object(id_1, False)

    # video rendering with embedded 1st person view
    if make_video:
        vut.make_video(
            observations,
            "rgba_camera_1stperson",
            "color",
            output_path + "robot_control",
            open_vid=show_video,
        )
Feature Detail Review
Adding/Removing Objects
Objects can be instanced from templates (i.e. ObjectAttributes) into the scene by template id with Simulator.add_object() or by template string key with Simulator.add_object_by_handle(). These functions return a unique id which can be used to refer to the object instance. In the case of errors in construction, -1 is returned.
By default, a new SceneNode will be created when an object is instanced. However, the object can be attached to an existing SceneNode (e.g. that of the Agent) if provided. This is demonstrated in Embodied Agents.
Object instances can be removed by id with Simulator.remove_object(). Optionally, the object’s SceneNode can be left behind in the SceneGraph when it is removed (e.g. to prevent deletion of an embodied Agent’s SceneNode).
Simulator.get_existing_object_ids() will return a list of unique object ids for all objects instanced in the scene.
MotionType
Objects can be configured to fill different roles in a simulated scene by assigning a habitat_sim.physics.MotionType:
habitat_sim.physics.MotionType.DYNAMIC
Dynamic object states are driven by simulation. These objects are affected by scene forces such as gravity, collision impulses, and programmatically applied forces and torques.
Constant forces and torques can be applied to these objects with Simulator.apply_force() and Simulator.apply_torque(). These are cleared after each call to Simulator.step_physics().
Instantanious initial velocities can also be set for these objects with Simulator.set_linear_velocity() and Simulator.set_angular_velocity().
habitat_sim.physics.MotionType.KINEMATIC
Kinematic object states are not affected by scene dynamics, but can be set directly via Simulator.set_transformation(), Simulator.set_rotation(), and Simulator.set_translation().
habitat_sim.physics.MotionType.STATIC
Static object states are not expected to change and cannot be affected by scene dynamics or programmatic state setters.
VelocityControl
Each object’s habitat_sim.physics.VelocityControl structure provides a simple interface for setting up continuous velocity control of the object in either the global or local coordinate frame. This can be queried from the simulator with Simulator.get_object_velocity_control().
For habitat_sim.physics.MotionType.KINEMATIC objects, velocity control will directly modify the object’s rigid state.
For habitat_sim.physics.MotionType.DYNAMIC object, velocity control will set the initial velocity of the object before simualting. In this case, velocity will be more accurate with smaller timestep requests to Simulator.step_physics(). Note that dynamics such as forces, collisions, and gravity will affect these objects, but expect extreme damping as velocities are being manually set before each timestep when controlled.
