View Assets in Habitat-Sim
This short tutorial demonstrates how to view assets in Habitat-Sim using the Asset Viewer.
View Assets in Habitat-sim engine
When composing or editing assets for a habitat dataset, it would be helpful to see how they would be rendered in the Habitat-sim engine. This can be difficult to accomplish without a lot of setup work, and this is made more difficult if Habitat-sim is not installed. This tutorial describes the Asset Viewer tool, which exists as both a Jupyter notebook, and a pure python utility.
$ python path/to/habitat-sim/examples/tutorials/nb_python/asset_viewer.py
Here we initialize the Simulator. Note that we override default settings to use the internally defined “none” scene (which is empty), and the 3rd person camera, before we initialize the Simulator.
# @title Initialize Simulator and Load Objects { display-mode: "form" }

sim_settings = make_default_settings()
sim_settings["scene"] = "none"
sim_settings["sensor_pitch"] = 0.0
sim_settings["override_scene_light_defaults"] = True
sim_settings["scene_light_setup"] = ""

# use 3rd person camera
sim_settings["color_sensor_3rd_person"] = True

make_simulator_from_settings(sim_settings)
View the Asset, and Correct Inappropriate Orientation
This code will compose a video of the asset of user-specified length that will show a single revolution around the asset.
# @markdown This cell loads the object, centers it, and then moves a camera in a circle around
# @markdown the center of the scene, recording observations, which are subsequently stitched
# @markdown together to build a video of the object

# check if desired object actually exists
if os.path.exists(object_to_view_path) and os.path.isfile(object_to_view_path):
    # Acquire the sensor being used
    visual_sensor = sim.sensors["color_sensor_3rd_person"]
    initial_sensor_position = np.array(visual_sensor.spec.position)
    initial_sensor_orientation = np.array(visual_sensor.spec.orientation)

    # load an object template and instantiate an object to view
    object_template = obj_attr_mgr.create_new_template(str(object_to_view_path), False)
    # if using a stage and it displays sideways, you may need to reorient it via its attributes for it to display properly.

    # @markdown If the asset being displayed is on its side, enable orientation_correction below :
    orientation_correction = False  # @param {type: "boolean"}
    # This will correct the orientation (Dependent on PR : )
    if orientation_correction:
        object_template.orient_up = (0.0, 0.0, 1.0)
        object_template.orient_front = (0.0, 1.0, 0.0)

    # modify template here if desired and then register it
    obj_temp_id = obj_attr_mgr.register_template(object_template)

    # create object
    obj = rigid_obj_mgr.add_object_by_template_id(obj_temp_id)
    # place object in center - must be done before setting to static
    # get bb of object
    obj_bbox = obj.aabb
    # find center of bb and move to scene origin - this centers object
    obj.translation = -obj_bbox.center()
    # get max dim to use as scale for sensor placement
    bb_scale = max(obj_bbox.max)
    # determine sensor placement based on size of object
    sensor_pos = bb_scale * mn.Vector3(0.0, 1.0, 2.0)
    # set object to be static
    obj.motion_type = habitat_sim.physics.MotionType.STATIC

    # initialize an agent and set its initial state
    agent = sim.initialize_agent(sim_settings["default_agent"])
    agent_state = habitat_sim.AgentState()
    agent_state.position = mn.Vector3(0.0, 0.0, 0.0)  # in world space
    agent.set_state(agent_state)

    # set the sensor to be behind and above the agent's initial loc
    # distance is scaled by size of largest object dimension
    visual_sensor.spec.position = agent_state.position + sensor_pos
    visual_sensor.spec.orientation = mn.Vector3(-0.5, 0.0, 0.0)
    visual_sensor.sensor_object.set_transformation_from_spec()

    # Create observations array
    observations = []

    # @markdown Set how long the resultant video should be, in seconds.  The object will make 1 full revolution during this time.
    video_length = 4.8  # @param {type:"slider", min:1.0, max:20.0, step:0.1}
    # Sim time step
    time_step = 1.0 / 60.0
    # Amount to rotate per frame to make 1 full rotation
    rot_amount = 2 * math.pi / (video_length / time_step)

    # simulate with updated camera at each frame
    start_time = sim.get_world_time()
    while sim.get_world_time() - start_time < video_length:
        sim.step_physics(time_step)
        # rotate the agent to rotate the camera
        agent_state.rotation *= ut.quat_from_angle_axis(
            rot_amount, np.array([0.0, 1.0, 0.0])
        )
        agent.set_state(agent_state)

        observations.append(sim.get_sensor_observations())

    # video rendering of carousel view
    video_prefix = clip_short_name + "_scene_view"
    if make_video:
        vut.make_video(
            observations,
            "color_sensor_3rd_person",
            "color",
            output_path + video_prefix,
            open_vid=show_video,
            video_dims=[1280, 720],
        )

    # reset the sensor state for other examples
    visual_sensor.spec.position = initial_sensor_position
    visual_sensor.spec.orientation = initial_sensor_orientation
    visual_sensor.sensor_object.set_transformation_from_spec()

    # remove added objects
    rigid_obj_mgr.remove_all_objects()
else:
    print(
        "\nChosen File : '{}' does not exist or cannot be found. Aborting.\n".format(
            object_to_view_path
        )
    )
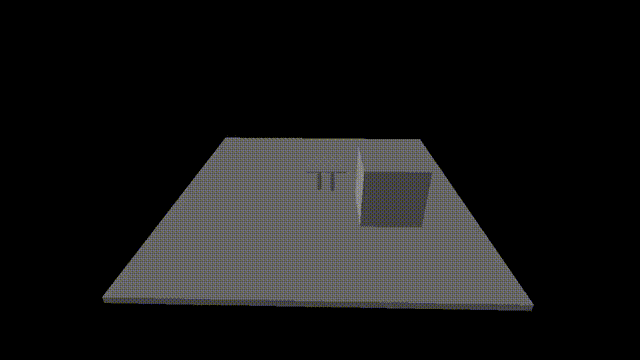
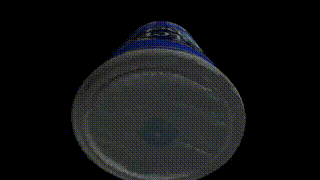
Assets will be displayed enlarged to nearly fill the screen, regardless of their size.
You may find that the asset is displayed on its side (this will often be the case if the asset is a stage).
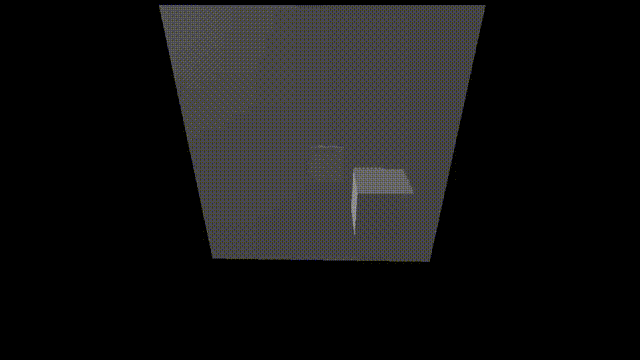
If this is the case, set orientation_correction to True.
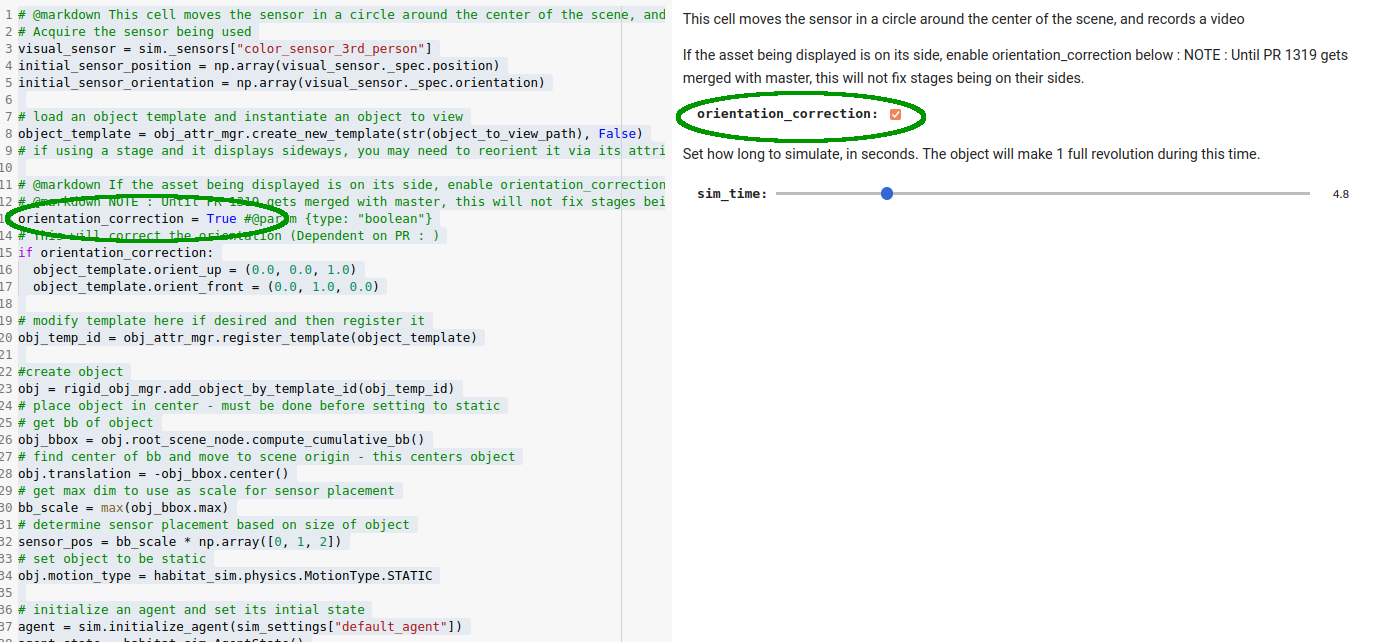
This will correct the orientation issues.